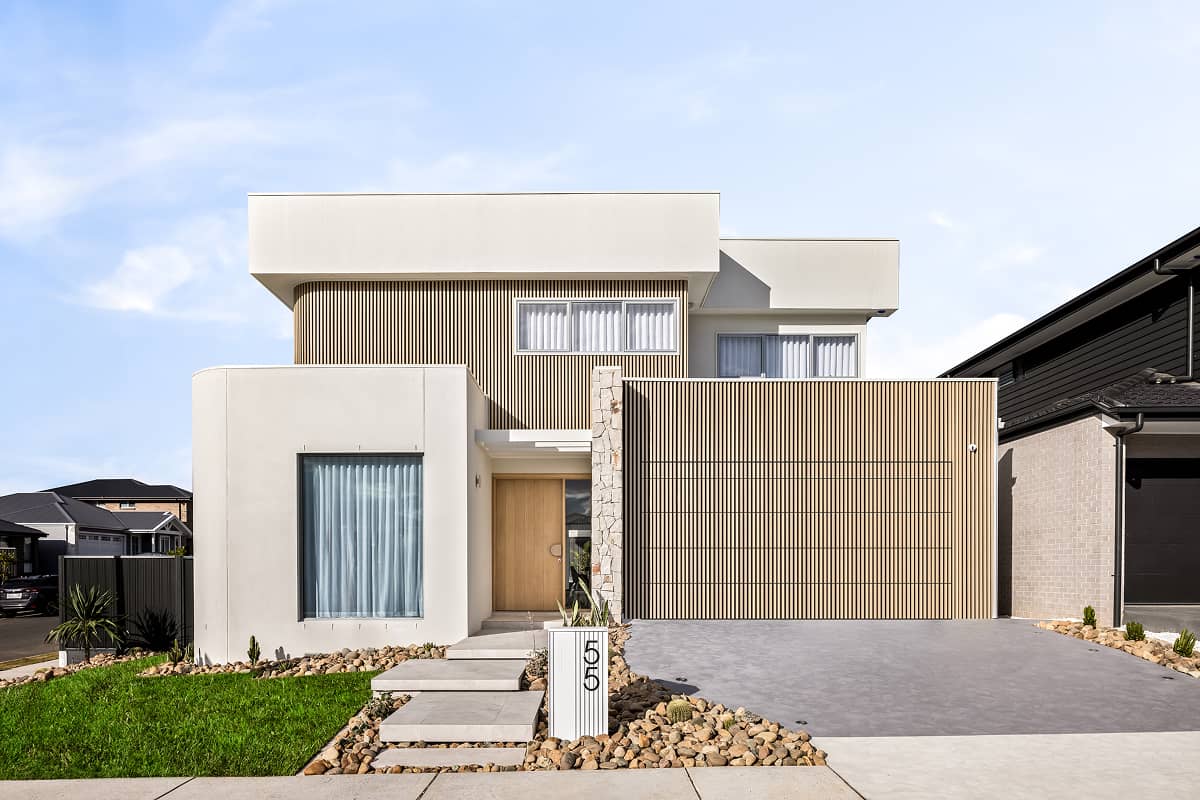
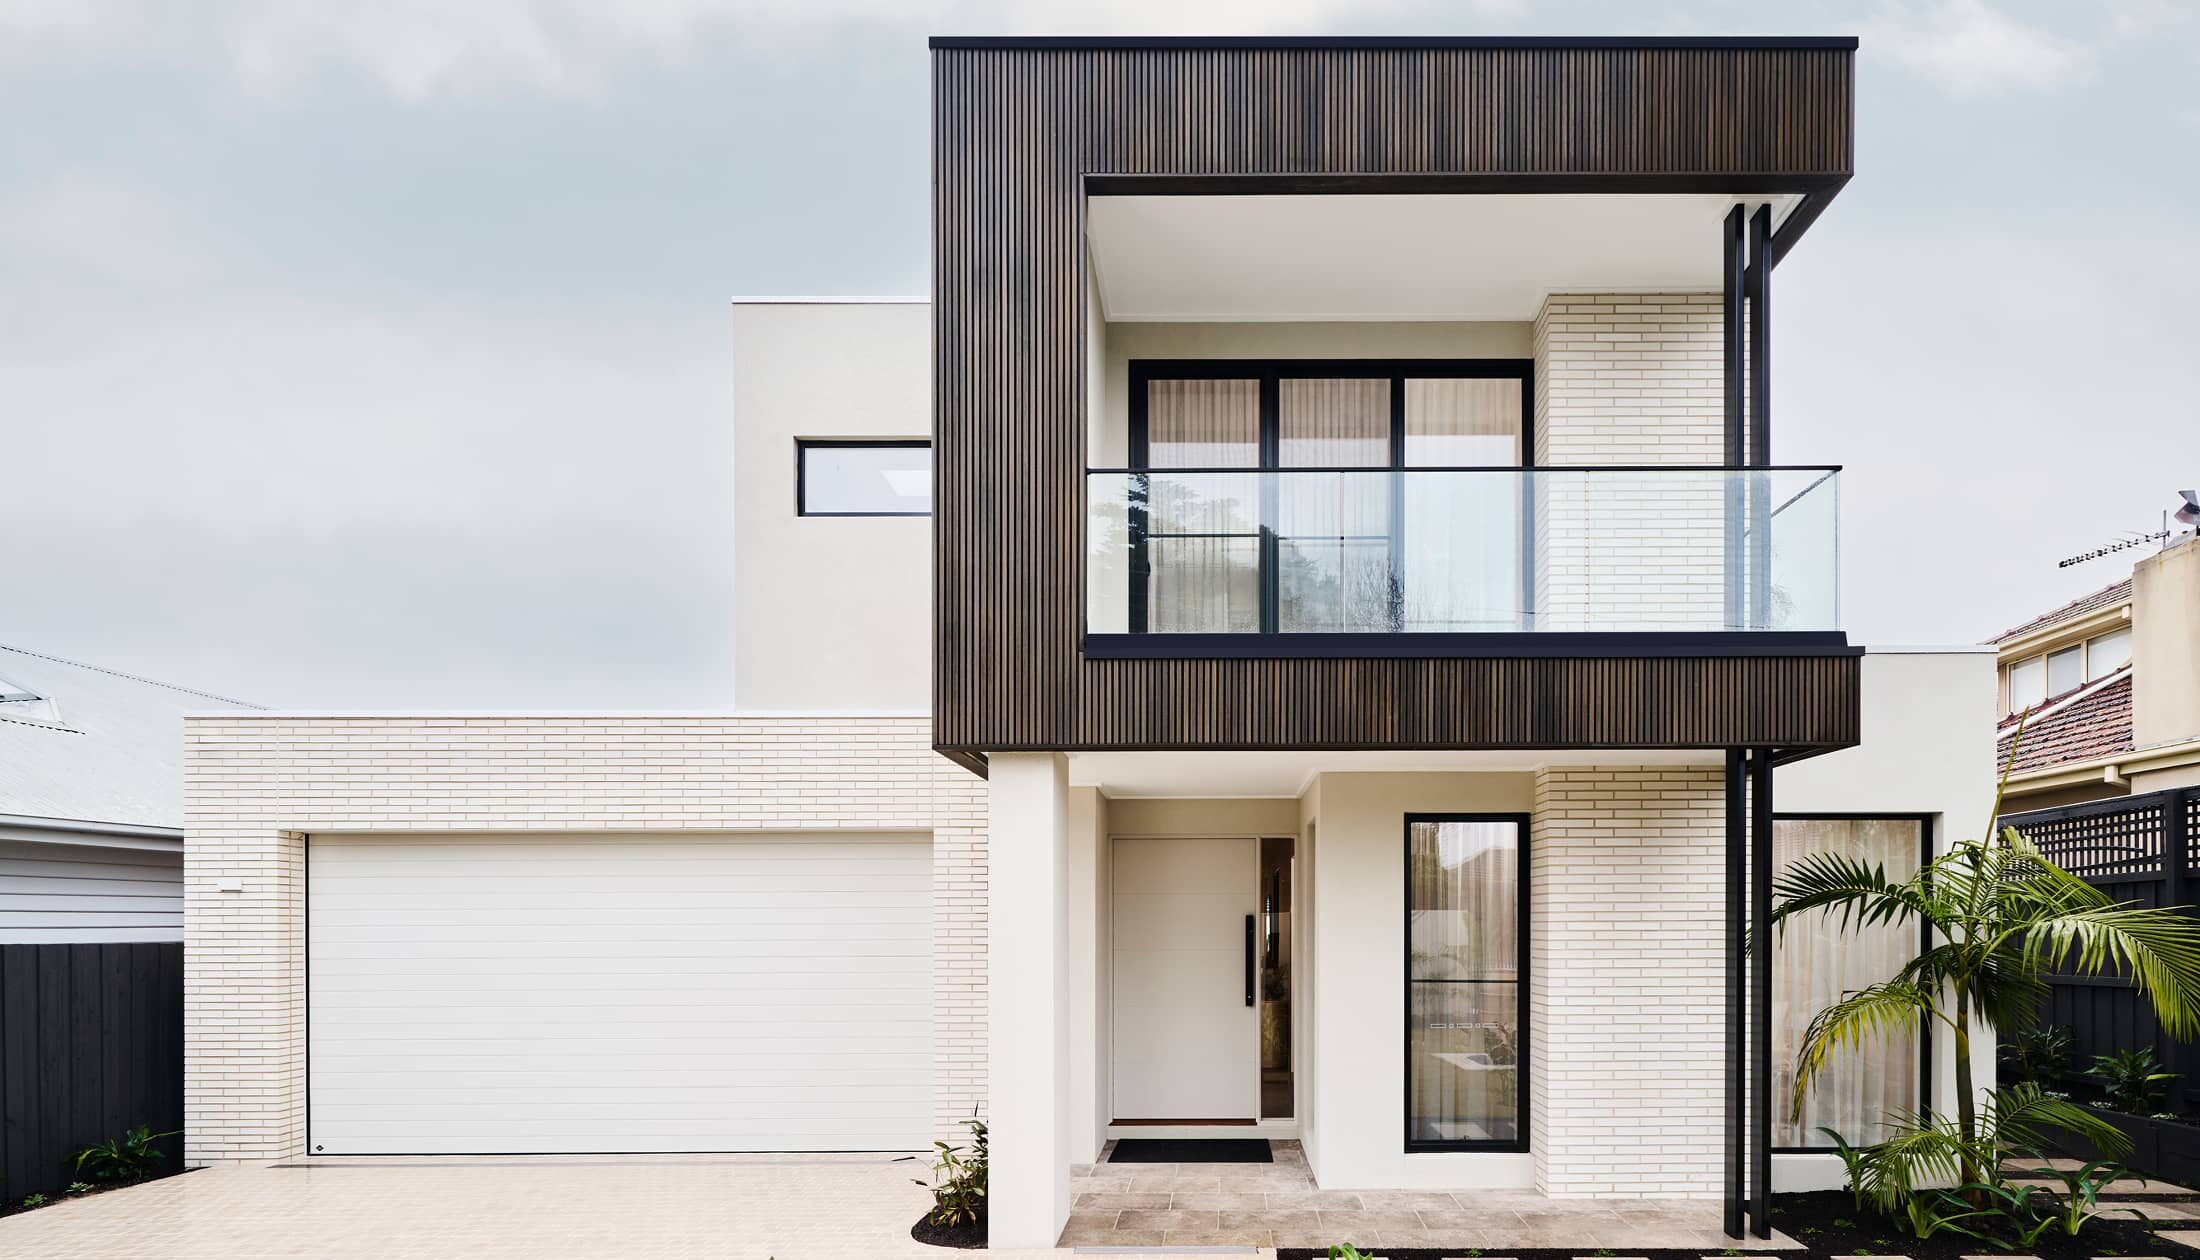
As the saying goes, you can’t build a great home on a weak foundation. At G.J. Gardner Homes, we are bringing joy back to the home building process by equipping our customers with the confidence and knowledge they need to begin building their dream homes. This helpful guide will detail the steps required to transform a raw block of land into a site ready for construction. After all, site preparation is one of the most important aspects of the home building process!
Key Steps to Site Preparation for Construction
- Site Analysis & Observation
- Soil Testing
- Land Excavation & Levelling
- Piers
- Utility Connection
- Pouring the Slab
Initial Site Analysis & Observation

Before breaking ground and starting to build, initial site analysis and observation must be completed. A registered site surveyor will first visit your block of land to inspect it and determine the work required to prepare the site for construction. In this assessment, the surveyor will determine the block’s boundaries, orientation, slope and size, and any building restrictions or zoning laws for the area. The surveyor will also determine the block’s cut and fill requirements for excavation if the land is uneven or sloping.
This is one of the most important steps in the site preparation process as it can assist in identifying obstructions to construction and prevent unnecessary costs later.
Testing Soil

Following this initial site analysis by a surveyor, a geotechnical engineer will also visit your block of land to begin testing soil. This aims to determine what ground your new home will be built on. To complete this, the engineer will cut into the earth on your block of land and take a sample. This testing soil sample will be taken to a laboratory where the soil classification, composition, condition, slope stability and soil bearing capacity will be determined.
Typically, the soil is classified by reactivity and the chance of soil movement as it gets wet. This is important as water can result in the erosion of particular soil types which can damage a home’s foundation. The larger the soil movement, the more reactive the ground is, and the more costly it can be to build on. In Australia, soil classifications are detailed as below:
| Class A | Most sand and rock sites with little or no ground movement from moisture changes |
| Class S | Slightly reactive clay sites, which may experience only slight ground movement from moisture changes |
| Class M | Moderately reactive clay or silt sites, which may experience moderate ground movement from moisture changes |
| Class H1 | Highly reactive clay sites, which may experience high ground movement from moisture changes |
| Class H2 | Highly reactive clay sites, which may experience very high groundmovement from moisture changes |
| Class E | Extremely reactive sites, which may experience extreme groundmovement from moisture changes |
| Class P | Sites which include soft soils, such as soft clay or silt or loose sands: landslip: mind subsidence: collapsing soil: soil subject to erosion: reactive sites subject to abnormal moisture conditions or sites that cannot be classified otherwise |
Source: Australian Standard (AS 2870-2011 [1])
Testing soil analysis can also indicate if any obstructions beneath the surface will need to be removed before the building commences. This can ensure large rocks, trees, roots, and other environmental factors are not obstructing your home’s construction. All underground obstructions will be recorded in the site plan and may result in changes to the design if the obstacles cannot be removed.
This testing soil will also assess the land soil levels, and if a footing system is required, your home builders can correctly position your new home on the block of land. A footing system is used to transfer the weight of the building from the home to the foundation.
A preliminary report will be created and passed onto your home builder after the site analysis and soil testing. This can help your home builders decide on the excavation work required to prepare the site as well as the correct slab classification and footing type.
Land Excavation & Levelling

After a site survey and soil testing, land excavation can begin. This will be completed by an excavation company that will remove rocks and other underground infrastructures and flatten the block for construction. To remove any high points, low troughs, or slopes on your block, the excavator will also level the site using a cut and fill technique. This means the ground from the high portions of your block will be transferred to the low sections to create a flat foundation for building your new home.
Another method is the split-level approach which is used when the ground used to ‘fill’ may be unsuitable. It instead maintains the slope of the block and creates flat surfaces on each level to build the home. G.J. Gardner Homes has extensive experience with split-level home design and can utilise your block’s slope to create your dream home.
Following this transfer of ground and soil, the block will then be compacted to make it stable and stop soil from moving around under the home once it is built.
In some instances, a block may be too close in proximity to a neighbouring home to cut and fill the entire site. A retaining wall is often used in circumstances where your block of land is at a higher or lower point than your neighbours and is used to stop the land from falling onto your block over time.
Concrete & Screw Piers
If your ground is still not stable enough following the block levelling and cut-and-fill, it may be due to the soil type and require further stabilisation for your home’s foundation. Under your builder’s instruction, you may need to add screw or concrete piers into sections of your land. A pier is placed on top of a footing and is connected by a steel rebar.
A screw pier is a steel tube driven into the ground, and the top is cut off to form footings. While a concrete pier is created by drilling into the ground until stable bedrock is found and then filling the holes with concrete to form the footing. These provide new points for the building to sit on, rather than relying on the compacted soil to hold the entire weight of the home.
Utility Connection
Once the block has been levelled and footings are installed, the utilities such as the plumbing and electrical connections can begin getting laid in the foundation in alignment with the site plan design. Termite protection can also be installed during this step to protect the home from erosion and stop termites from getting inside your home.
At this stage, if your site has used the cut-and-fill technique, drop-edge beams may be used to keep ground and soil compact under the slab. This uses added concrete around the edges of the slab to reinforce the block’s stability.
Pouring the Slab

Now for the fun part! Once utilities and termite protection have been installed, the concrete slab for your new home can be poured. Following the soil testing report results, your builder will decide on the appropriate slab type required for your home. The most common types of slabs are a waffle slab or a polyvoid slab.
Waffle Slab
A waffle slab uses a reinforced concrete and slab system. It uses an edge beam, and spaced internal beams called strip footings to create a waffle-like appearance. This is constructed on top of the ground to avoid movement.
Polyvoid Slab
A polyvoid slab is a suspended concrete slab on void formers made from expanded polystyrene (EPS), allowing soil reactivity such as settlement and heave. This aims further to protect your home and its foundation from movement.
Next Steps
At G.J. Gardner Homes, we believe the process of building a new home shouldn’t be a stressful one. When building with G.J. Gardner Homes, we partner with you to create your dream home from the foundation up! If you would like to know more about the steps involved in the home building process or expert advice onsite preparation for construction, contact our experienced team today.
FAQs on Site Preparation for Construction
How long does site preparation take?
Site preparation time will depend on the circumstances surrounding your build and construction. However, residential home site preparation typically takes between 1-2 months.
What is site preparation?
Site preparation in residential home building is the process of ensuring a raw block of land is prepared to begin construction. This involves site surveys, testing soil, land levelling, excavation, connecting utilities and more.
What comes after site preparation?
After site preparation, your builders can begin the construction of your new home. This includes pouring the concrete slab and starting to frame up your dream home!
Category
Building with G.J. Gardner
Inspired by this post? Get curated home design advice delivered to you.
Related articles
For Australians looking to buy, invest or build wealth through property, the 2026 Federal Budget may have just changed everything….
Building a new home is an exciting journey, but it’s crucial to approach it with caution to avoid unexpected expenses…
Category
Building with G.J. Gardner
When building a home, it is important to consider how long you plan on living in the residence. Is it…
Category
Building with G.J. Gardner
Whether you’re looking to build your very first home or are a seasoned investor about to embark on your next…
Category
Building with G.J. Gardner
Narrow blocks give Australians the opportunity to build in densely populated areas. But all the benefits of urban living come…
Category
Building with G.J. Gardner
Our G.J. Gardner Homes designers bring a unique approach to modern family home design through a conscious commitment to liveability….
Category
Building with G.J. Gardner
Thanks to today’s design trends, many Australian dream homes include the luxury of high ceiling spaces. The right ceiling height…
Category
Building with G.J. Gardner
Did you know home buying ranks as one of the most stressful times in your life? Whilst the end result…
Category
Building with G.J. Gardner
Experience the G.J. Way this season on Channel Nine’s Australia’s Best House. Take tours through three of G.J. Gardner Homes’…
Category
Building with G.J. Gardner
It’s not uncommon to find your first step into the housing market daunting. As the home buying and building journey…
Category
Building with G.J. Gardner
We are proud to announce that G.J. Gardner Homes has been rated 4.8 stars by those who matter most… the…
Category
Building with G.J. Gardner
Before you sign a contract or pay a deposit, ask your builder the following questions. It could potentially save you…
Category
Building with G.J. Gardner
A home. It’s the biggest investment you’re ever likely to make. So it makes sense to invest in quality materials…
Contact Us
"*" indicates required fields